After installing WordPress or any other script available using Softaculous, you may want to change some of the installation settings. This guide will walk you through the settings you can change once a script has been installed.
We will use WordPress for our example, but the steps will be the same for almost any script you install using Softaculous..
- Log in to your cPanel.
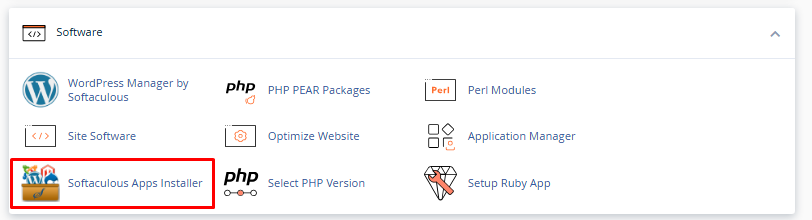
- Find the "Software" section, then click on "Softaculous Apps Installer".
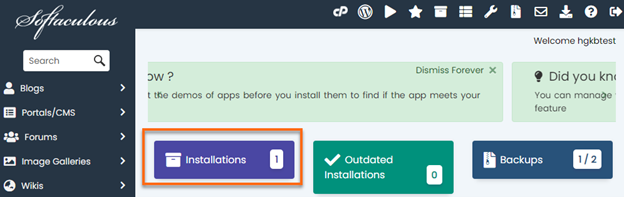
- This will open the Softaculous interface. At the top of the page, you will be presented with options for your installed scripts. Click on the "Installations" box.
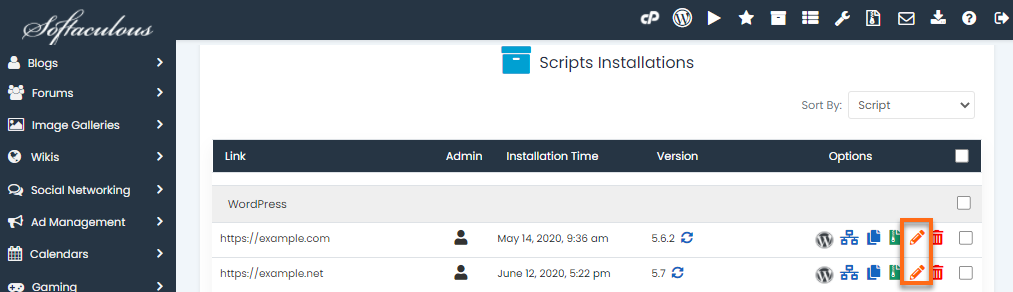
- Locate the domain for which you want to edit the installation and click on the pencil icon.
On this page, you will have the option to edit a number of settings for the installation.
Installation Details
This section displays information such as where the site is installed, database information and auto-update settings.
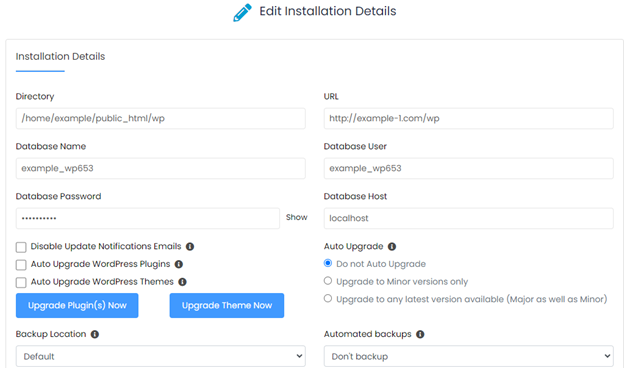
- We do not suggest changing the directory, URL or database settings unless you know what you are doing, as these settings can damage your website and make it inaccessible.
- The "Auto Update" setting can be configured to allow Softaculous to automatically update the script, theme and plugins.
Administrator account
This section allows you to reset your administrator username and password.
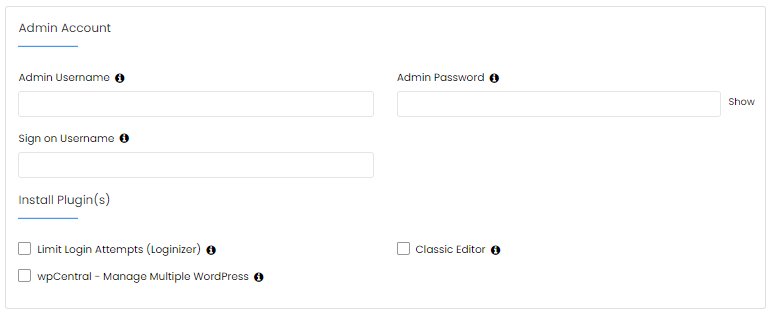
Reset Admistrator password
To reset the administrator password:
- Enter the administrator user name in the Administrator user name box.
- Enter the new password in the Administrator Password box.
- Click the "Save Installation Details" button at the bottom of the page.
Reset Administrator username
To reset the login user name:
- Enter the desired administrator user name in the "Login User Name" box.
- Haga clic en el botón "Guardar detalles de instalación" en la parte inferior de la página.
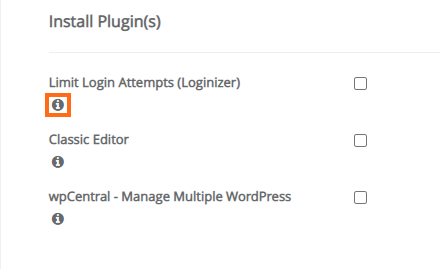
Instal Add-ons
This section gives you the option to install add-ons. Hover over the information icon below each add-on name for a description of the add-on functionality.
Install theme
Here you can choose a new theme for your WordPress site.
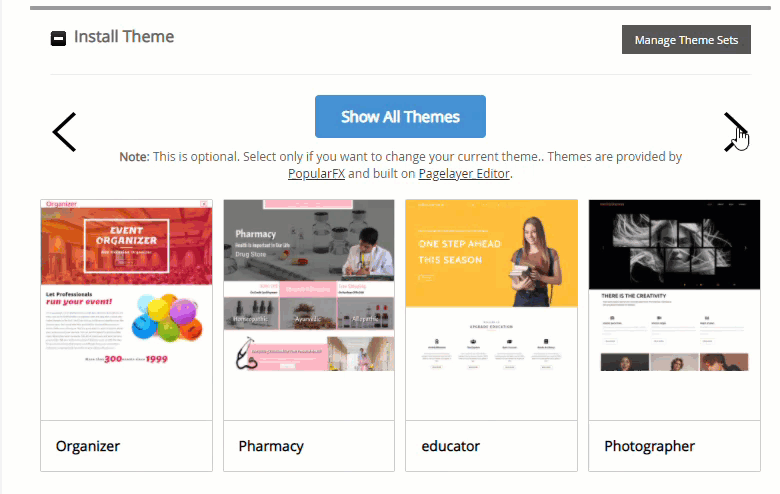
Once you are done and ready to save your changes, click the "Save installation details" button at the bottom of the page.
