Once your website is live, you will reach a point where you want to update the design or functionality. Softaculous gives you the ability to create a duplicate of your existing website so you can test changes before committing to making them on your live site.
Having this capability allows you to test if your website is compatible with the latest version of WordPress or PHP . You can also test new themes, plugins or layouts so that when you are ready to update your live site, you already know how it will look and function.
How to create a test site
- Log in to cPanel.
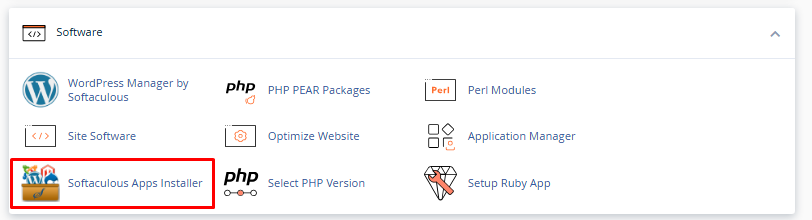
- Navigate to the "Software" section, then click on the "Softaculous Application Installer" icon..
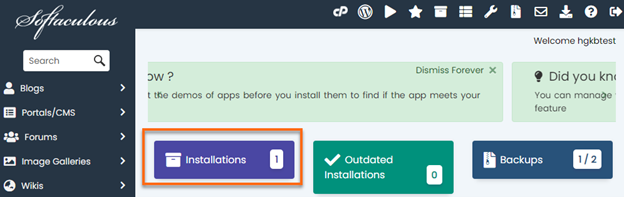
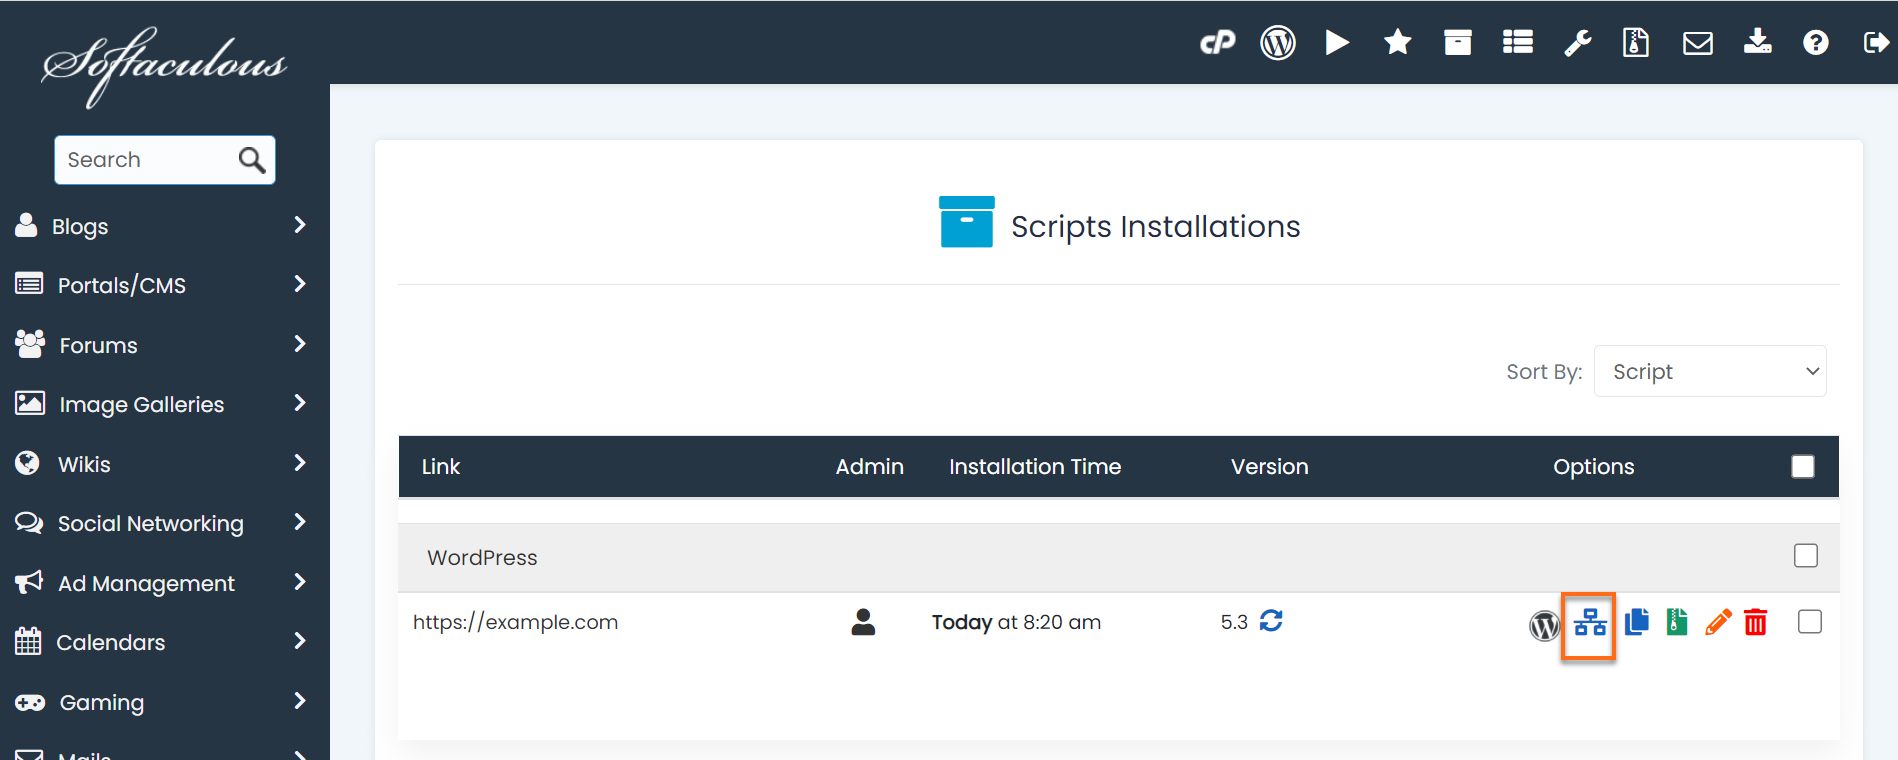
- At the top of the page, you will see options for your installed scripts. Click on the "Installations" box.
- Find the domain you want to organize and click on the "Create trial" icon.

- In front of "Choose installation URL" , select the domain you want to use to install your scripts. Select the domain you want to use for your trial site or enter a directory name in the last box labeled "In directory".
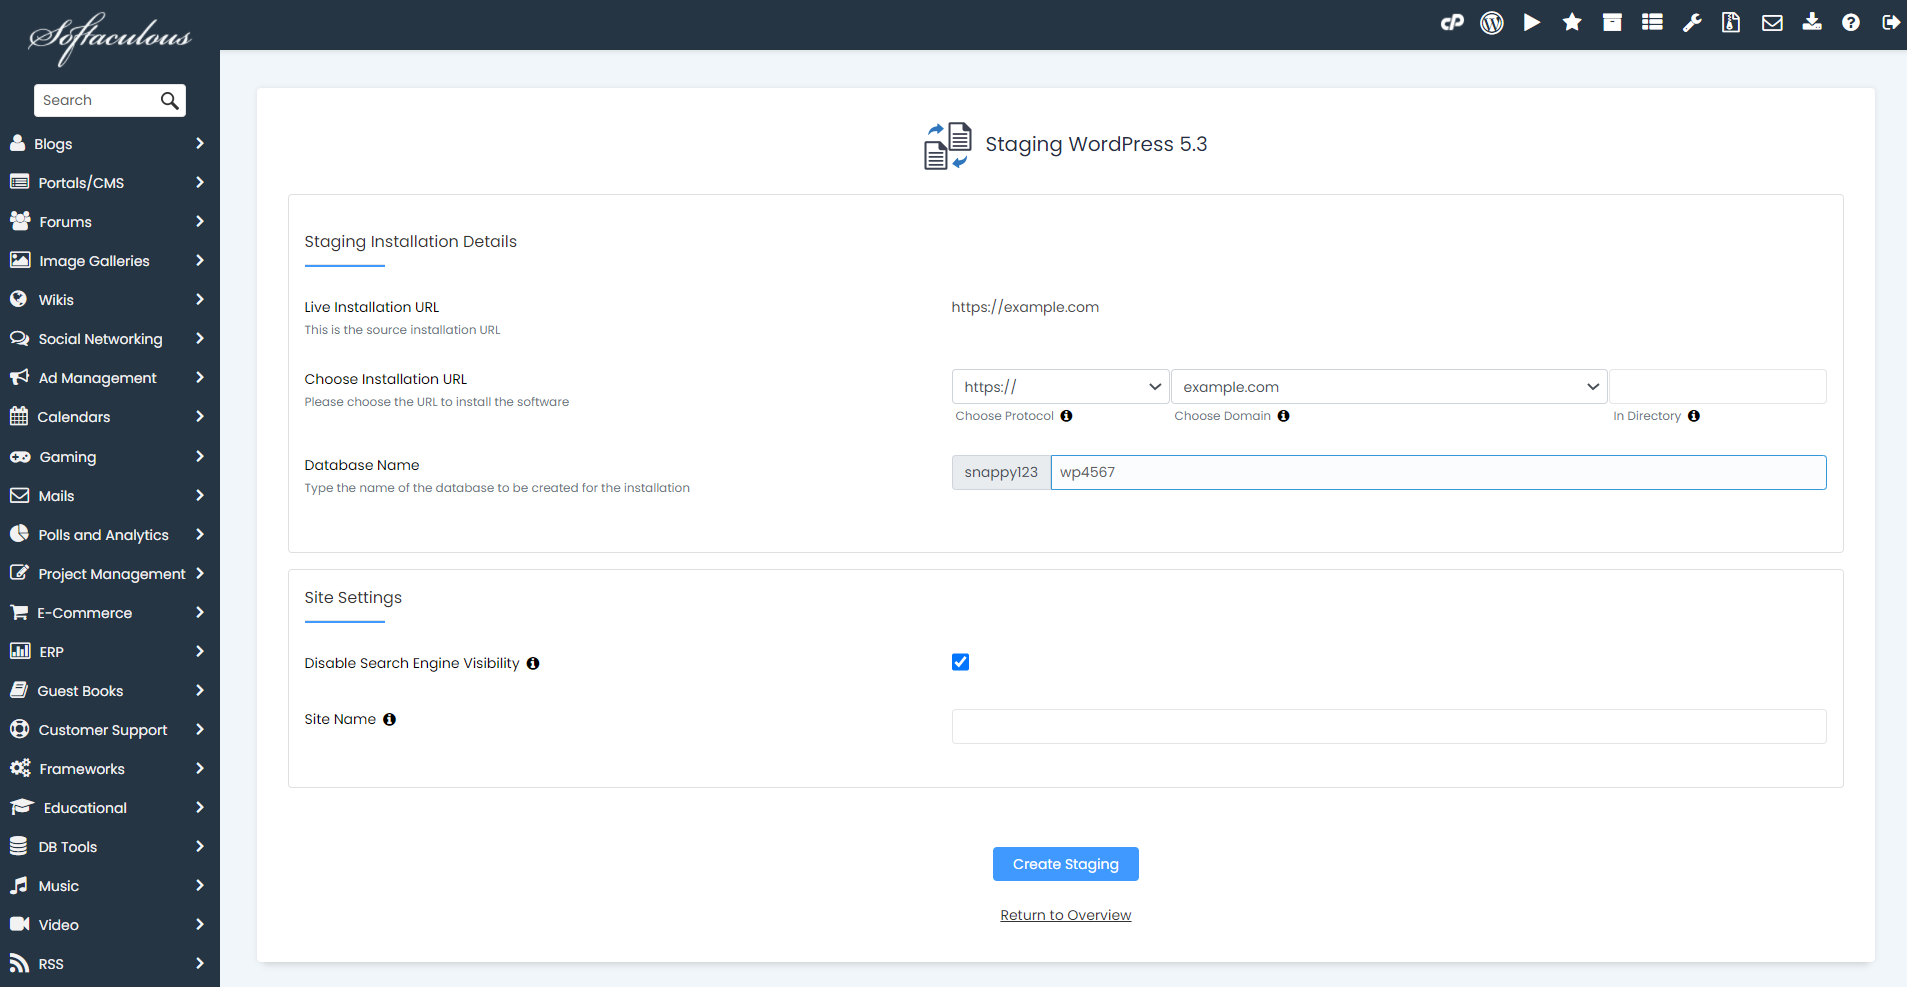
- Check the "Disable search engine visibility" box if you do not want your trial site to be displayed in search engine results.
- If you want your trial site to be an exact duplicate of your live site, leave the "Site Name" box blank and click the "Create Trial" button.
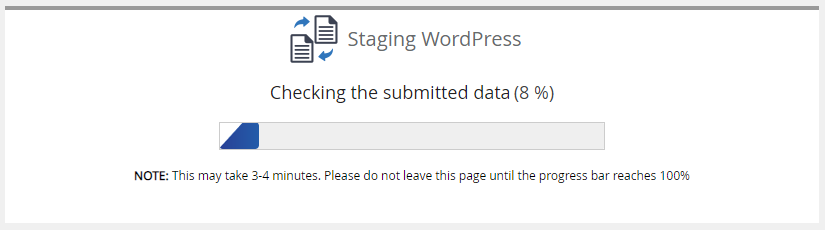
- A progress bar will appear while you create the trial site.
- You will then be presented with a congratulatory message and links to the trial site and your administration panel.
- Click on the link next to the "Administrative URL" to begin editing your trial site.
Note: The admin login details are the same as the admin login details of the source account.
Can't find your installation in the list? Let's scan and import your installation
- Log in to cPanel.
- Navigate to the "Software" section, then click on the "Softaculous Application Installer" icon..
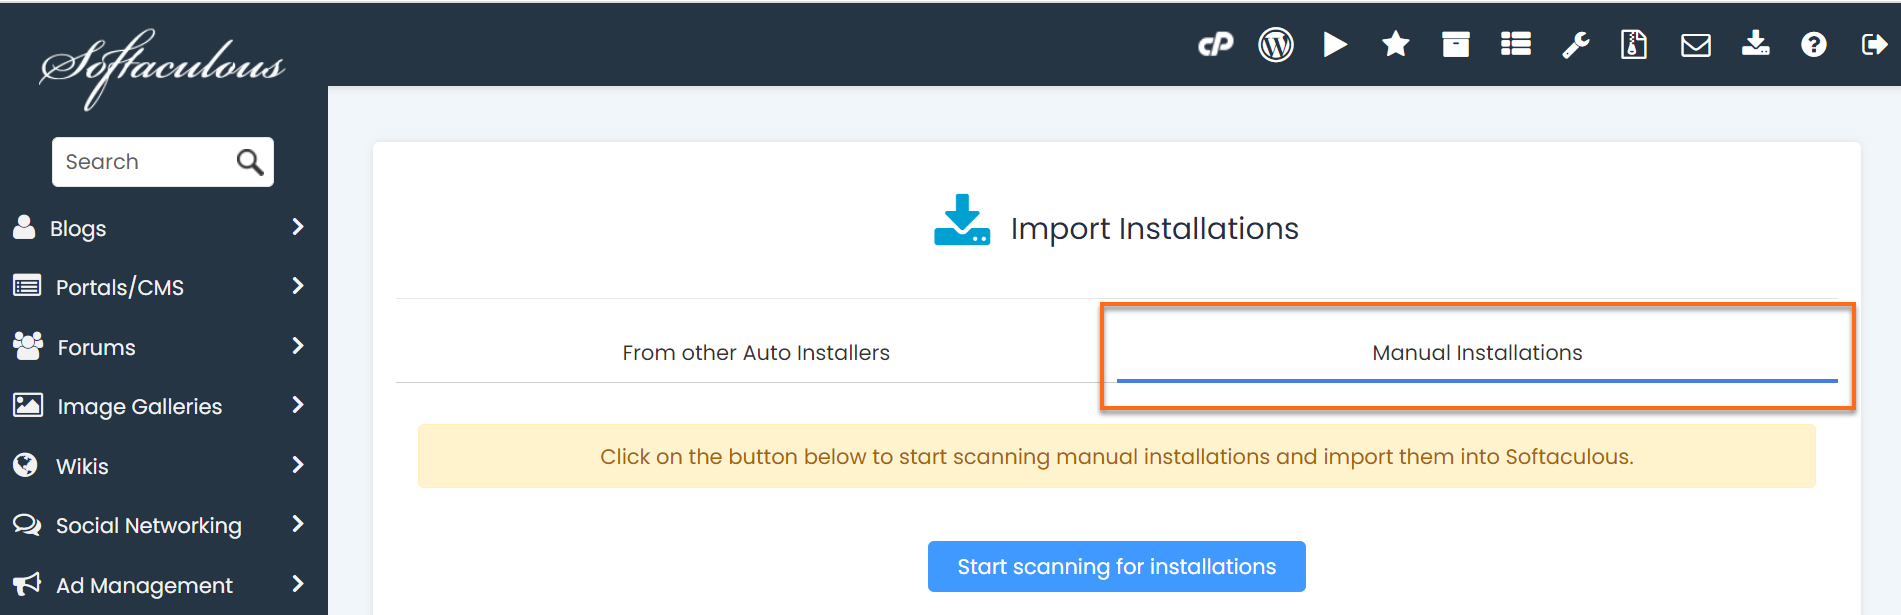
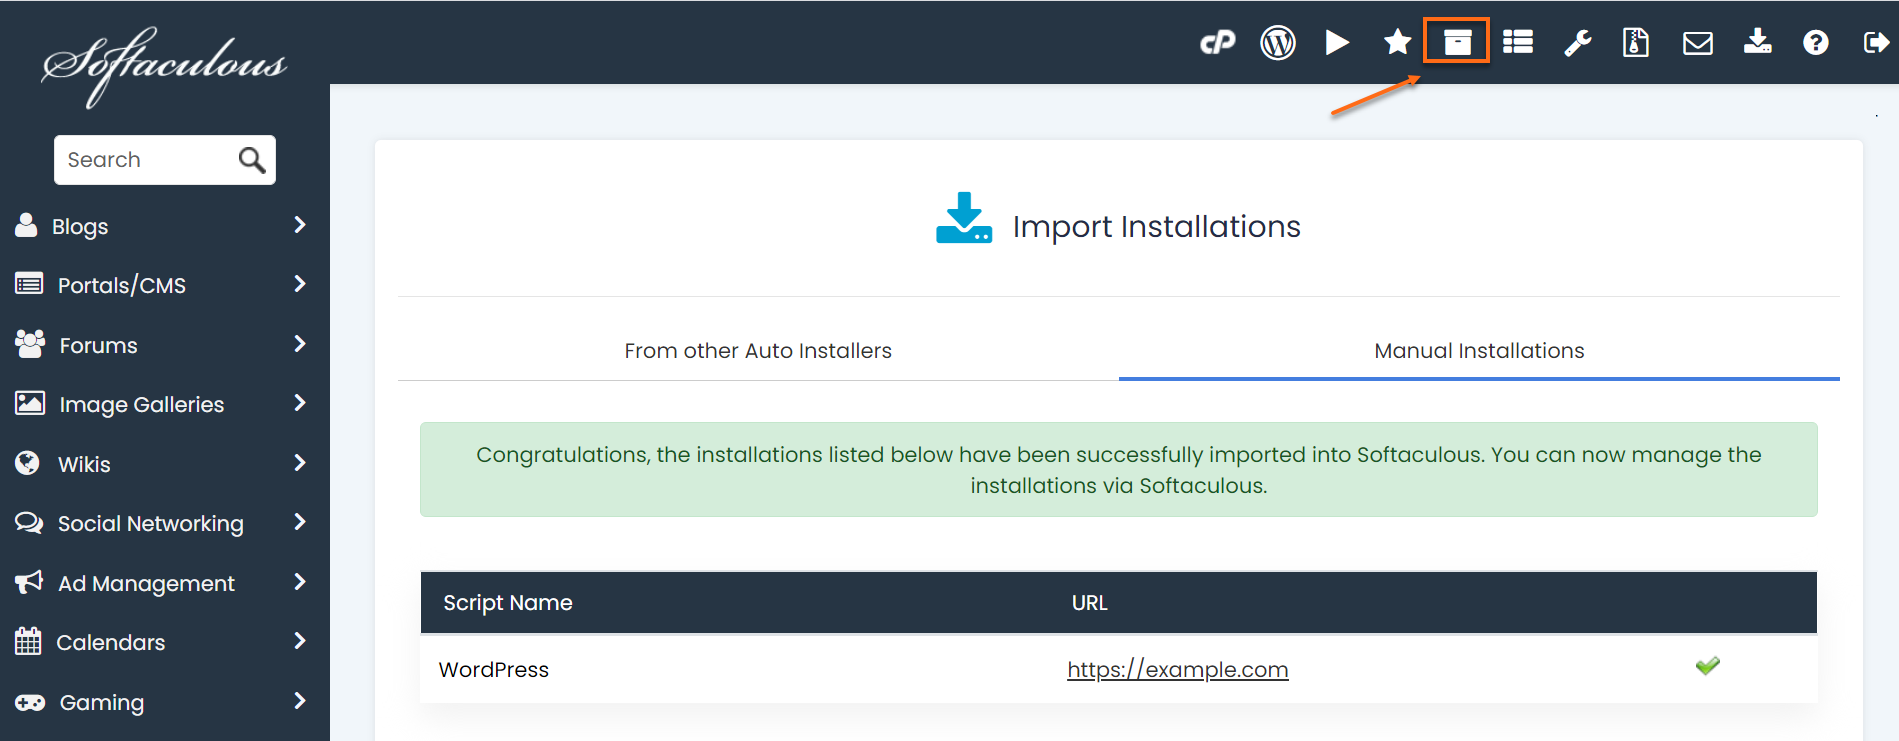
- On the Softaculous Application Installer page , click on the "Import Installations" button in the upper right corner.

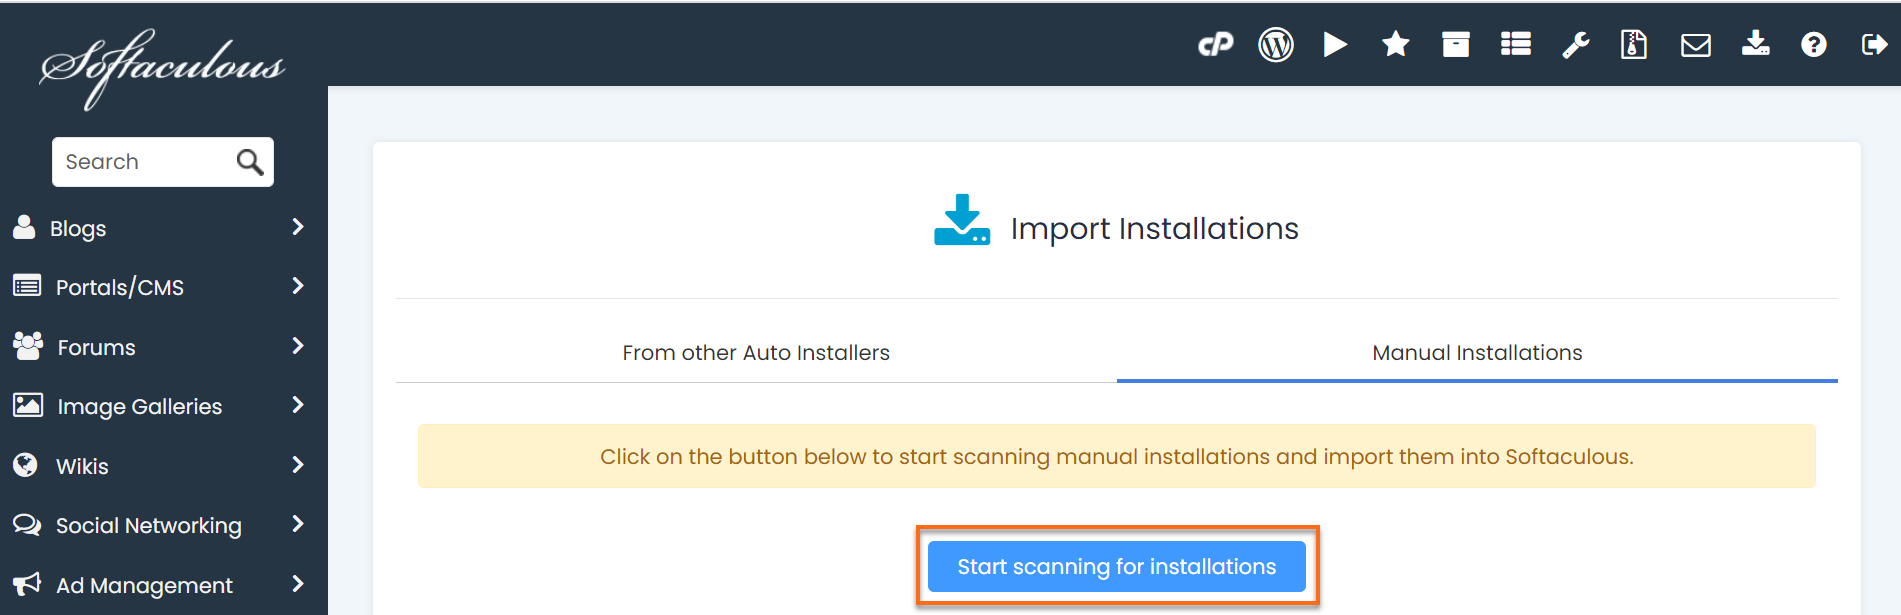
- On the new page that will appear, click on the "Manual Installations" button.
- Once in the "Manual Installations" section section, click on "Start scan for installations". The scan takes about 3-5 minutes, depending on the number of your installations.
- Once the scan is complete, your manual installation will appear on the page.
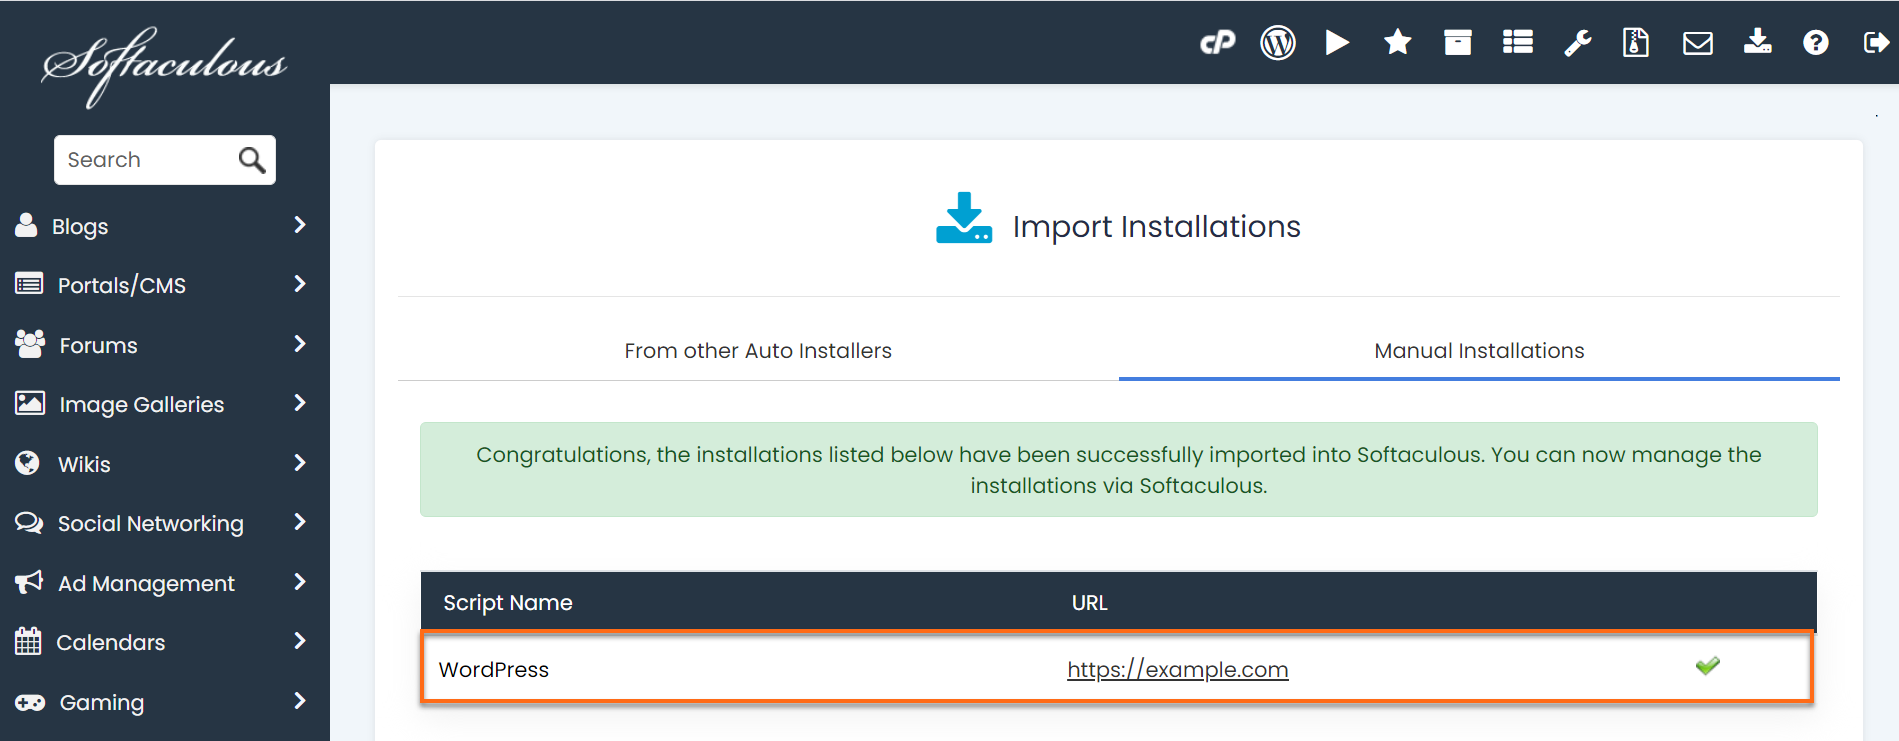
- Then, click on the "Installations" icon at the top right. And this time, you will now see your installation.
- Click on the "Staging" icon and follow the instructions above.
Note: While the staging feature will allow you to test your changes, there is no way to automatically send the changes to your live site. This process is called site cloning, which is a service that HOST does not offer at this time. You, or your web developer, will need to follow the steps to change the domain of your WordPress site to copy the staging website to your live site.
