A database stores the information that our website collects, that is why it is important to migrate the database along with the website, since our website can fail if it does not have its database. In this article we will learn how to create and migrate databases.
- Log in to cPanel in both the new and the old one.
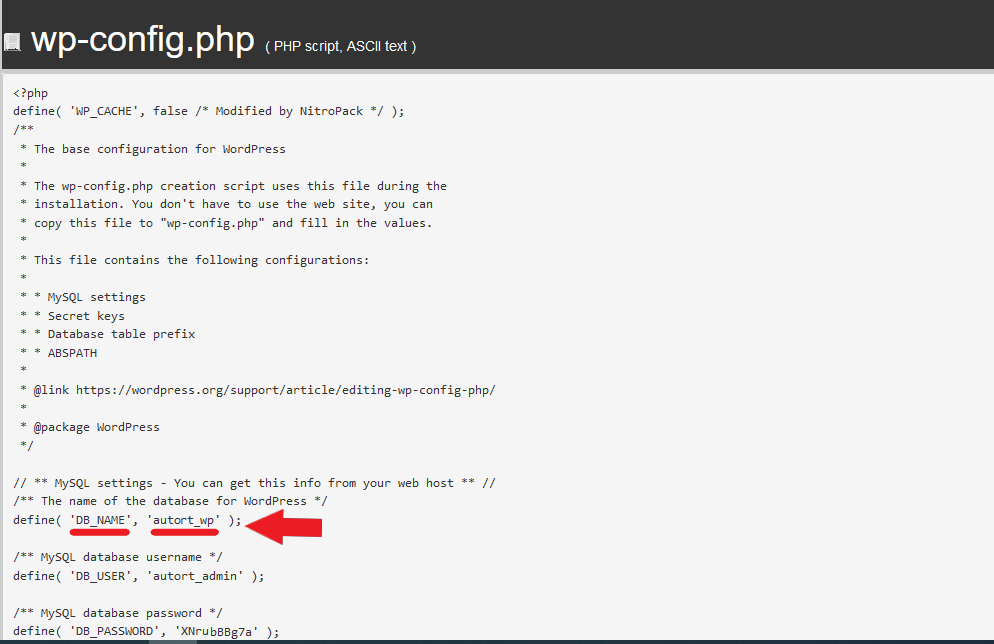
- We must find out the name of the database that corresponds to our website, we can see it in the "wp-config" files in the folder corresponding to the website we are migrating. You can refer to the article How to migrate a website with File Manager in cPanel? to locate the public_html file or the directory of our website.
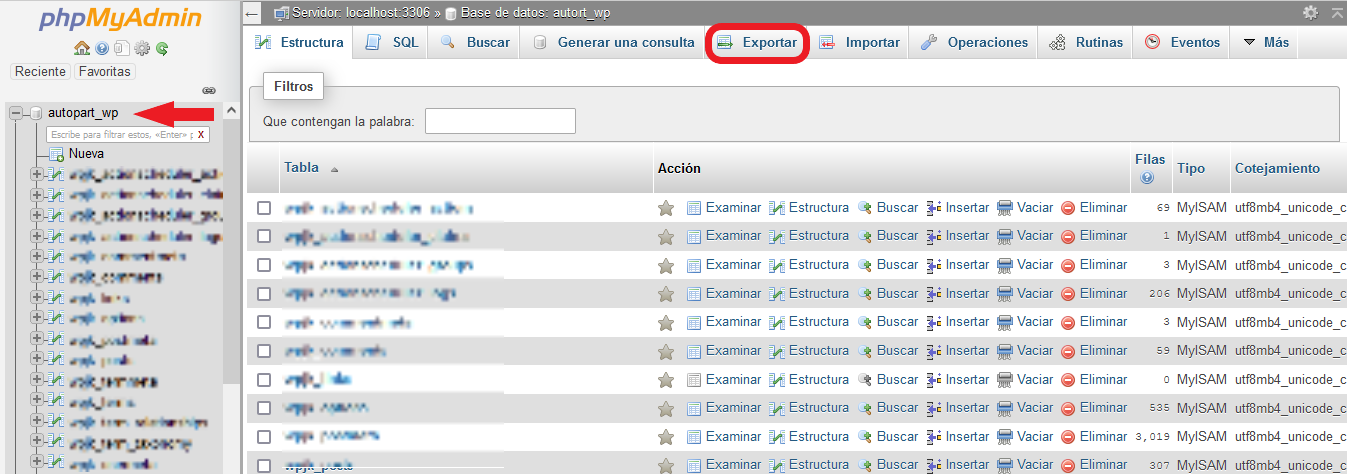
- Once we have the name of the database, we must look for it in our "phpMyAdmin''. To do this, we return to our cPanel and enter "phpMyAdmin".

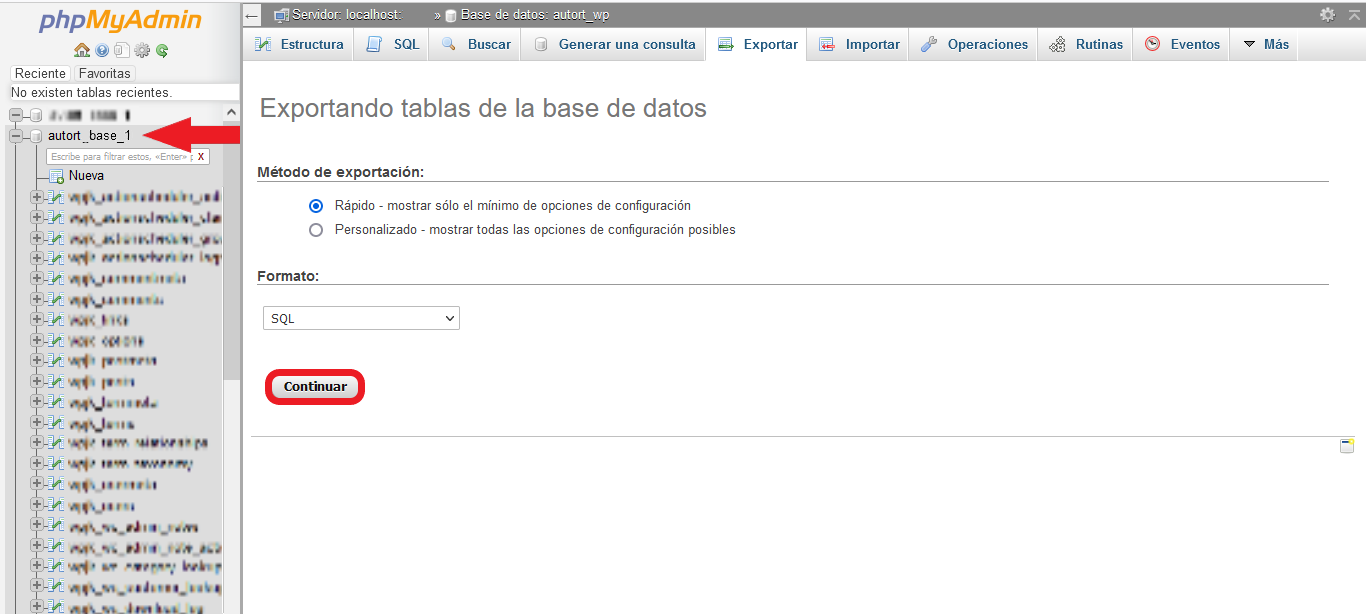
- We locate the database that has the name we got, select it, and export the database. We must leave everything by default and press "Continue".
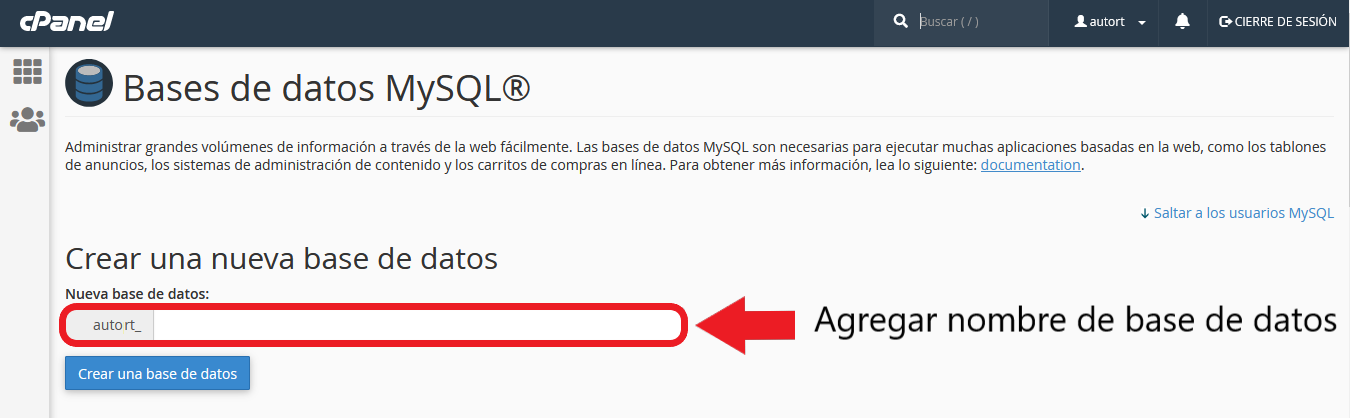
- When the database has been downloaded to our computer, we must create a new database in our new cPanel. For it, we must enter in "MySQL Databases".

- We must create a database with a simple and unique name.
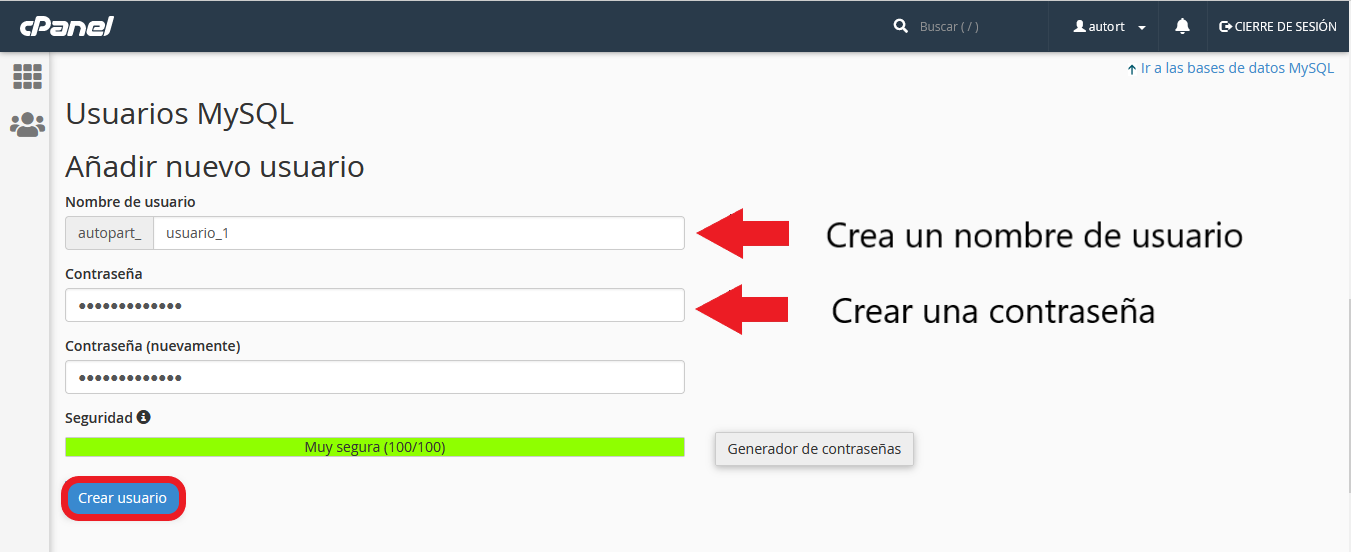
- We must also create a user for the database. Enter a username and password and press the "Create user" button.
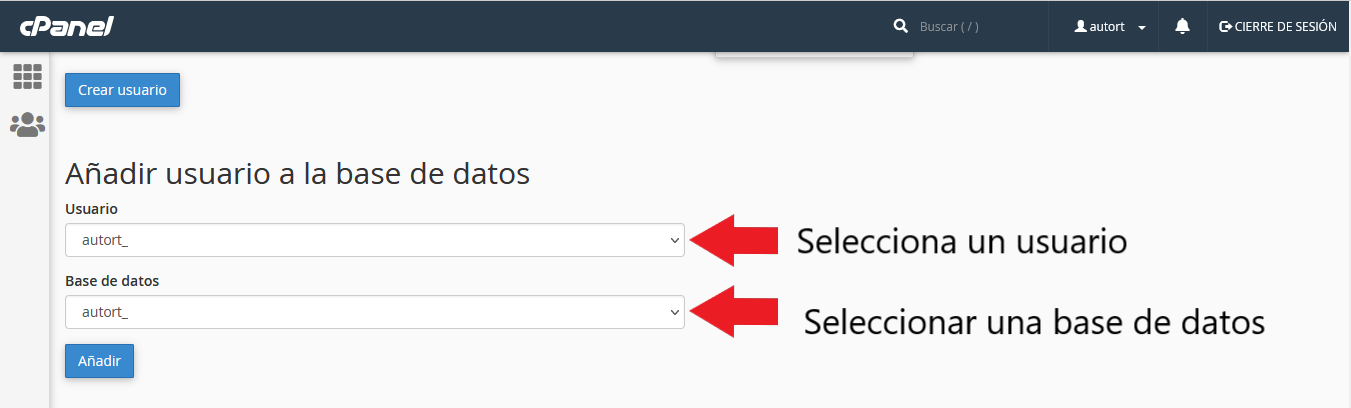
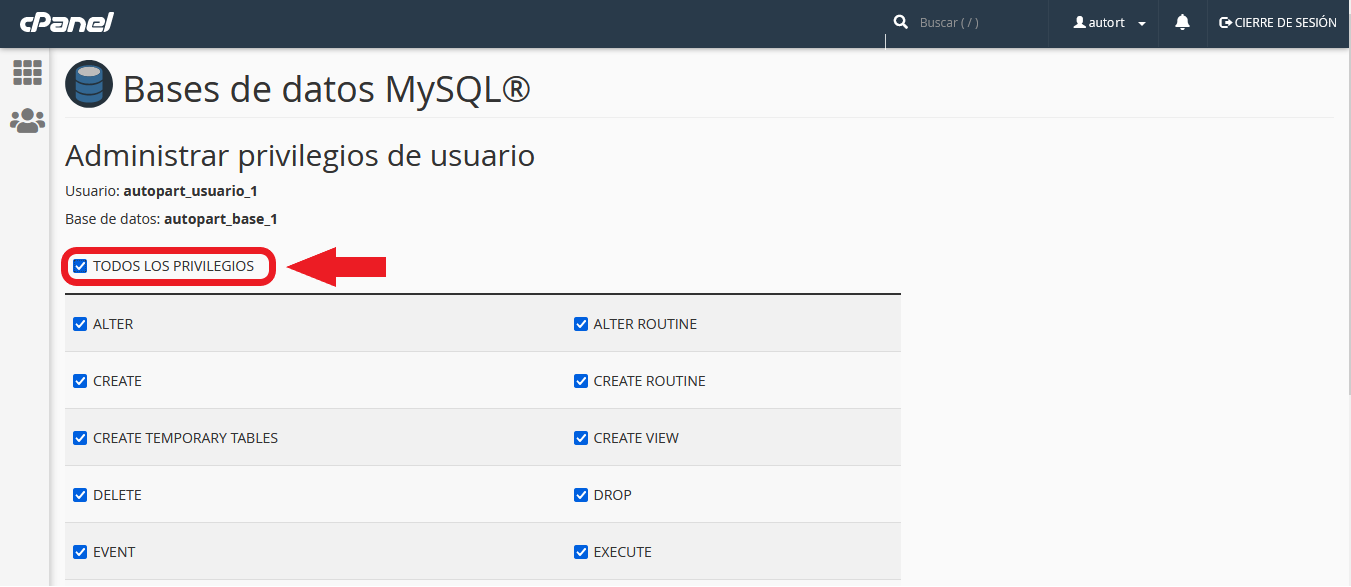
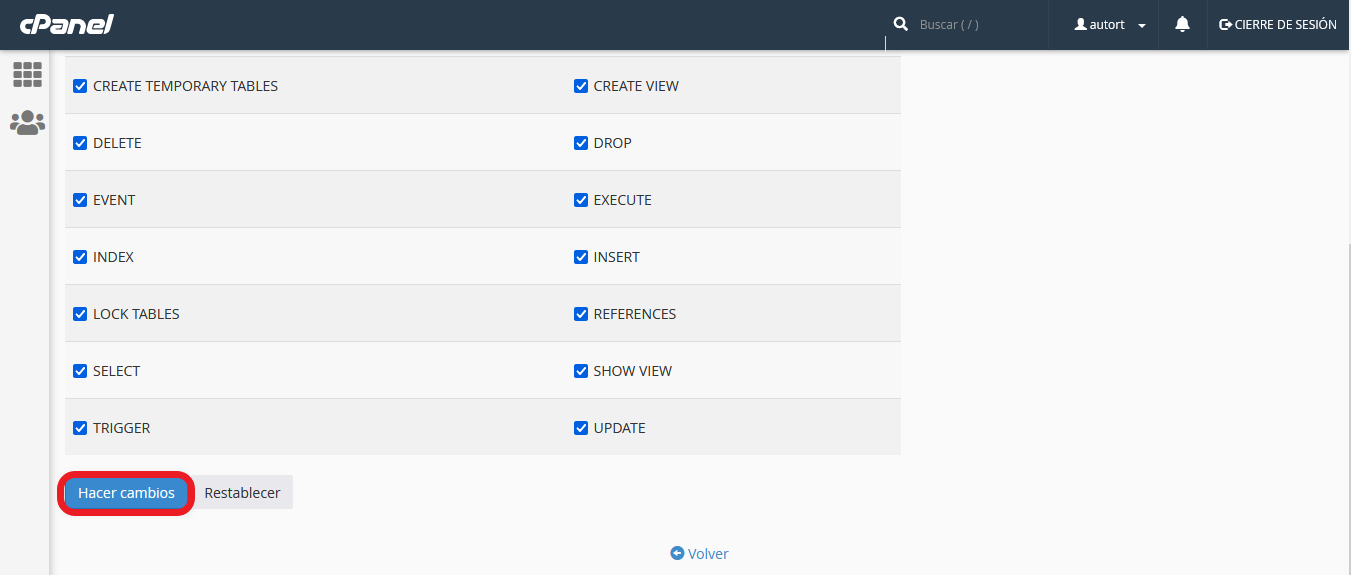
- For our database to work correctly, we must add the user that we created previously to our database. After adding the user, we have to give him/her all the privileges and when we finish, we press the "Make changes" button.
- Now that we have created the database with its user, we can enter "phpMyAdmin" and import the database.
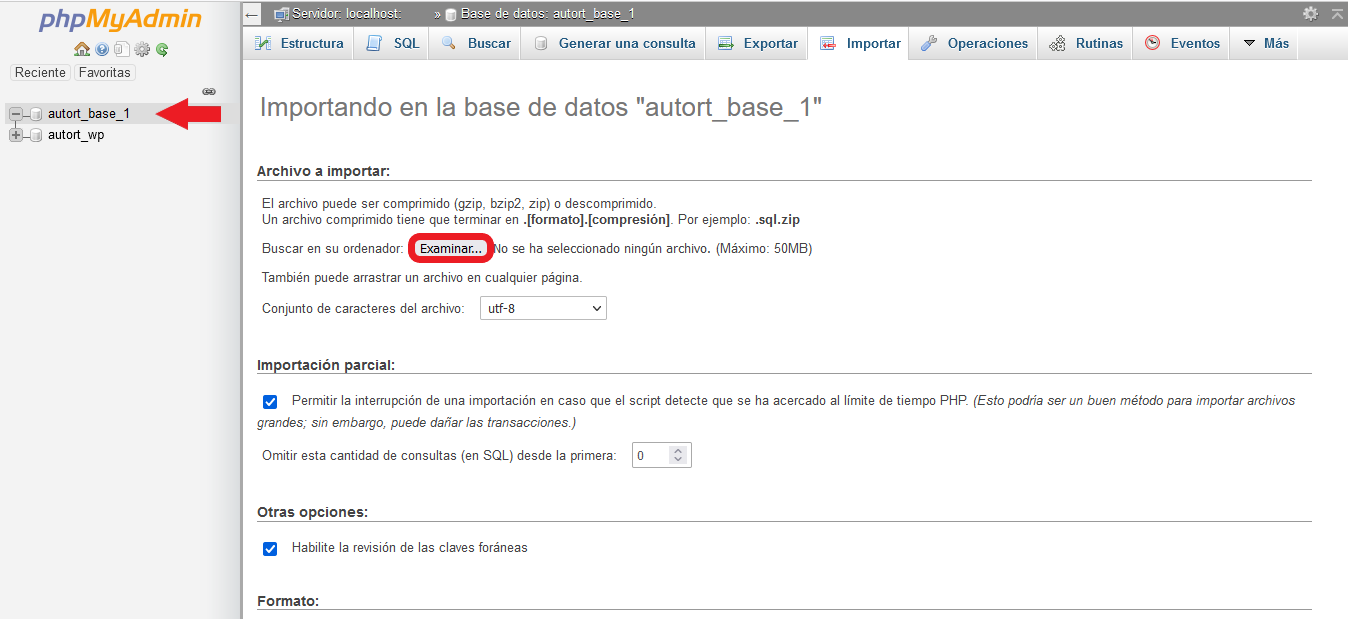
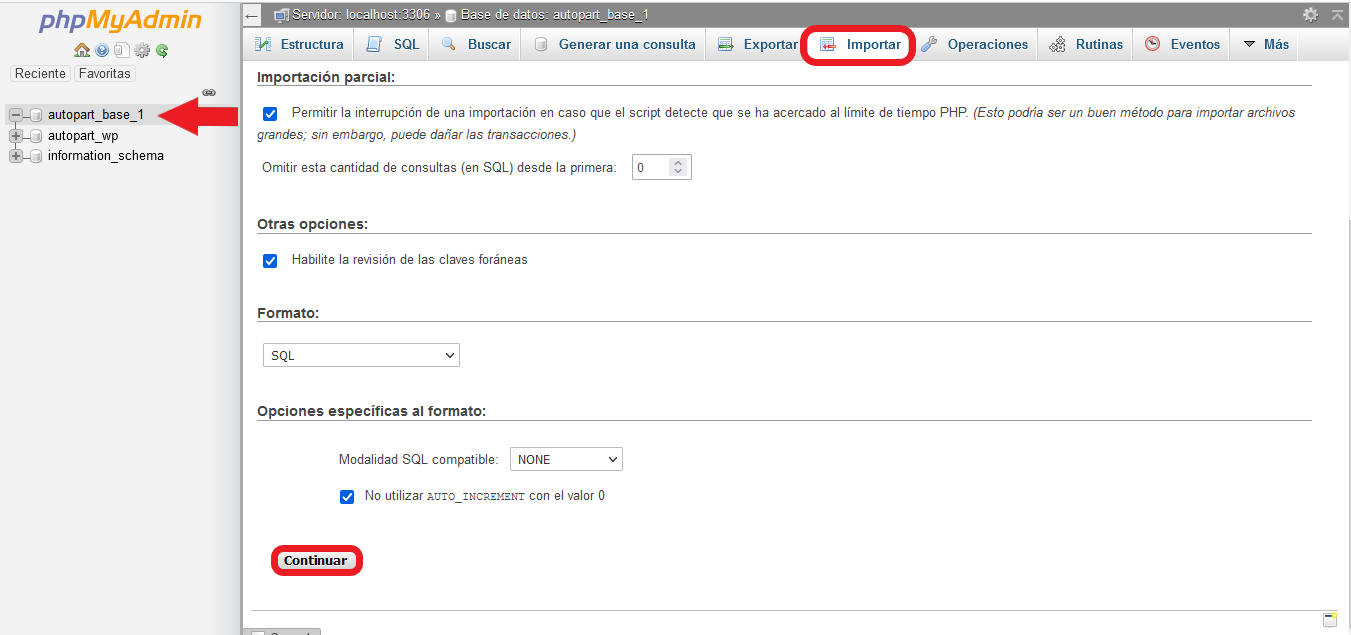
- We locate and click on the database we created, select the "Import" option, and examine our computer looking for the database we previously downloaded by clicking on the "Browse" button. Once selected, we leave all the default values and press "Continue".
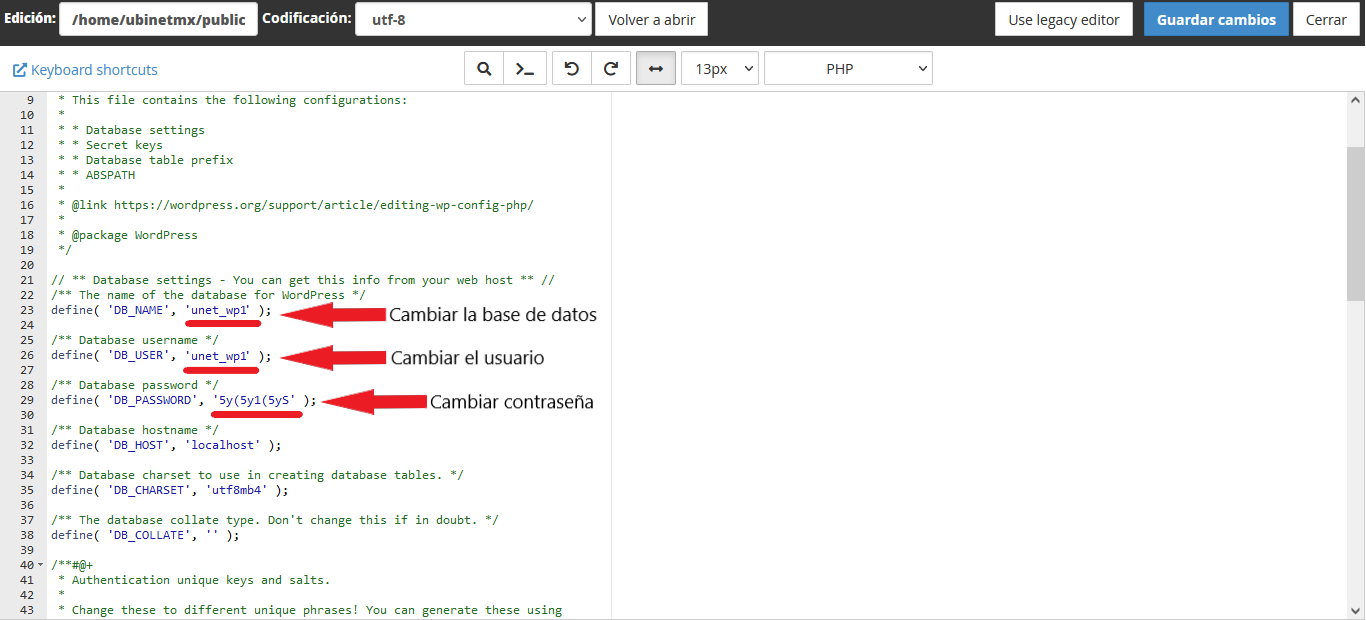
Nota: We already have the database successfully migrated, but for our website to be able to access our database, we need to change the values of the "wp-config" file with the new database name, user and password we created.
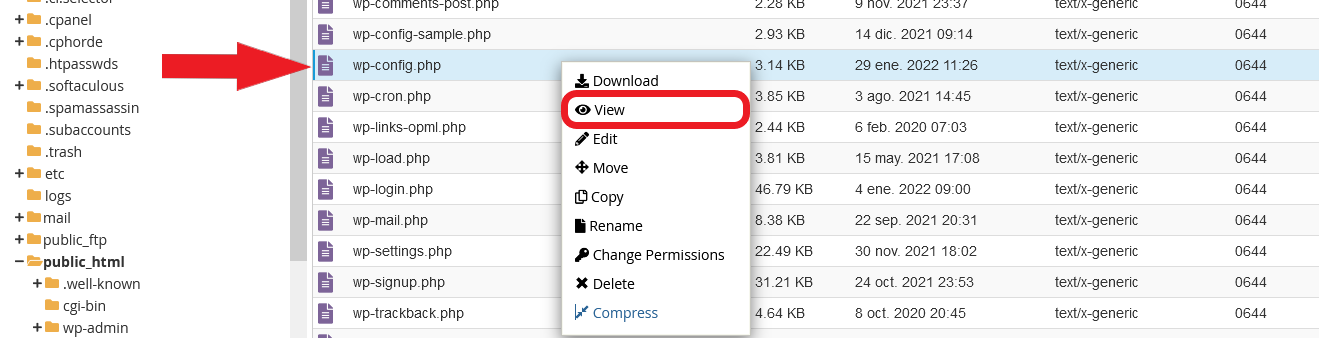
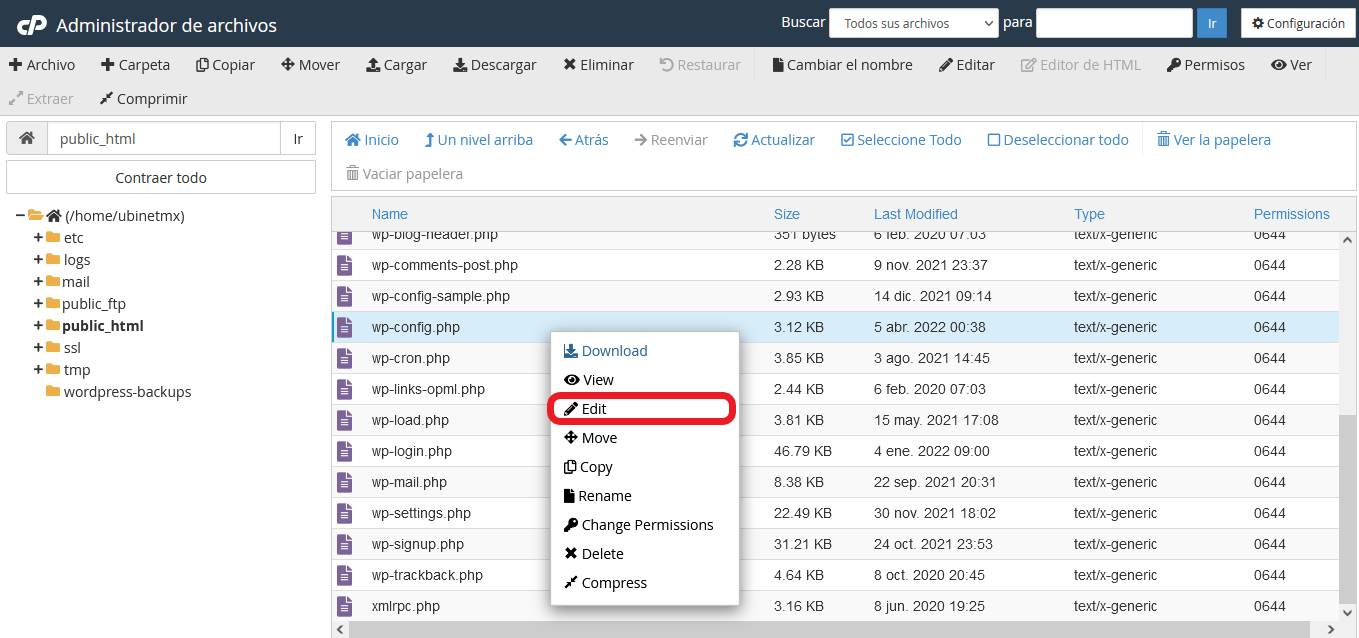
- We right click on the "wp-config" file and select the "Edit" option to be able to edit the data.
- We must change the name of the database, the user's username and the user's password which are between quotation marks (only what is inside the quotation marks must be changed). Once the change has been made, press the "Save changes" button to save the changes.
Once the whole process has been done correctly, we must wait a little while for the information to propagate, after about 15 minutes, we will be able to visualize our web site.
Note: Modifications to our database and File Manager can alter the correct functioning of our website, so we recommend to be careful with our actions.
HOST support will be happy to help you resolve any errors on your website. Contact us by Support!

